
This post contains affiliate links.
Refurbishing an old desk is an exciting venture that transforms an ordinary piece of furniture into something special. It’s a project that combines creativity with practical skills. This guide is designed to help anyone, from beginners to seasoned DIY enthusiasts, successfully refurbish a desk.
The process of refurbishing a desk involves several important steps. It starts with assessing the desk’s current state and then moves through stages like disassembling, cleaning, sanding, and applying new finishes. Each step is critical to achieving a great result.
By following this guide, you will understand every aspect of desk refurbishment. This article has everything you need, from choosing the right tools and materials to applying the final touches. Continue reading to start your journey of transforming an old desk into a masterpiece.
1. Evaluate Your Desk’s Conditions and Possibilities
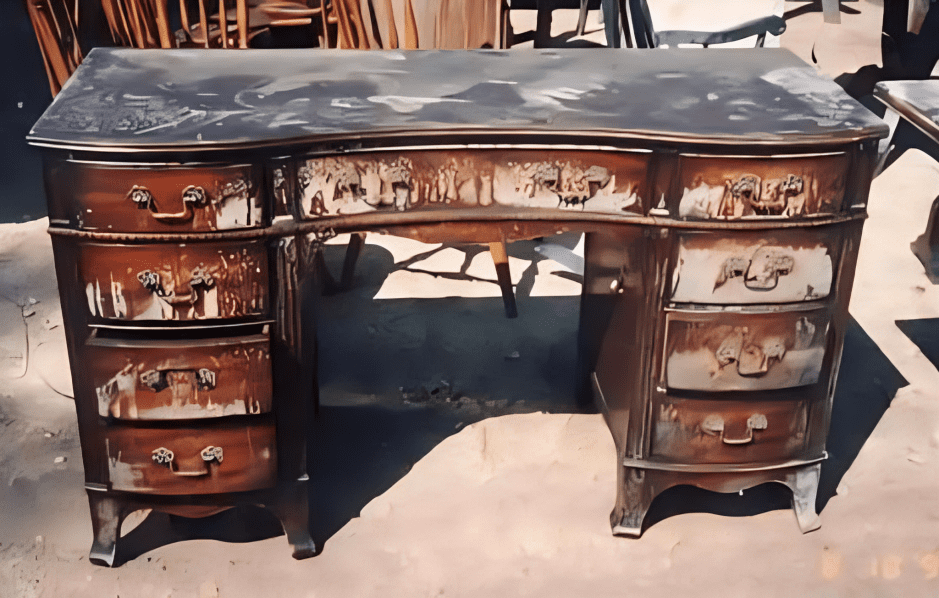
Start by inspecting the desk for any signs of structural damage. Check for loose joints, cracks in the wood, broken parts, or any areas that may require reinforcement.
It’s crucial to determine whether the desk is sturdy enough to withstand the refurbishment process and continued use.
Next, consider the desk’s material and original finish. Solid wood desks are typically excellent candidates for refurbishment, as they can be sanded down and refinished relatively easily.
However, desks made from particle board or covered in a veneer can be more challenging. Veneer, a thin layer of wood or wood-like material, is delicate and can be damaged easily during sanding. If your desk is veneered, check for peeling or chipping. Minor issues can be fixed, but extensive damage might not be worthwhile.
The type of finish on your desk also plays a significant role in refurbishment. Some finishes, like paint or varnish, can be sanded off, while others, such as laminate, are unsuitable for sanding and refinishing.
2. Gather Materials and Tools
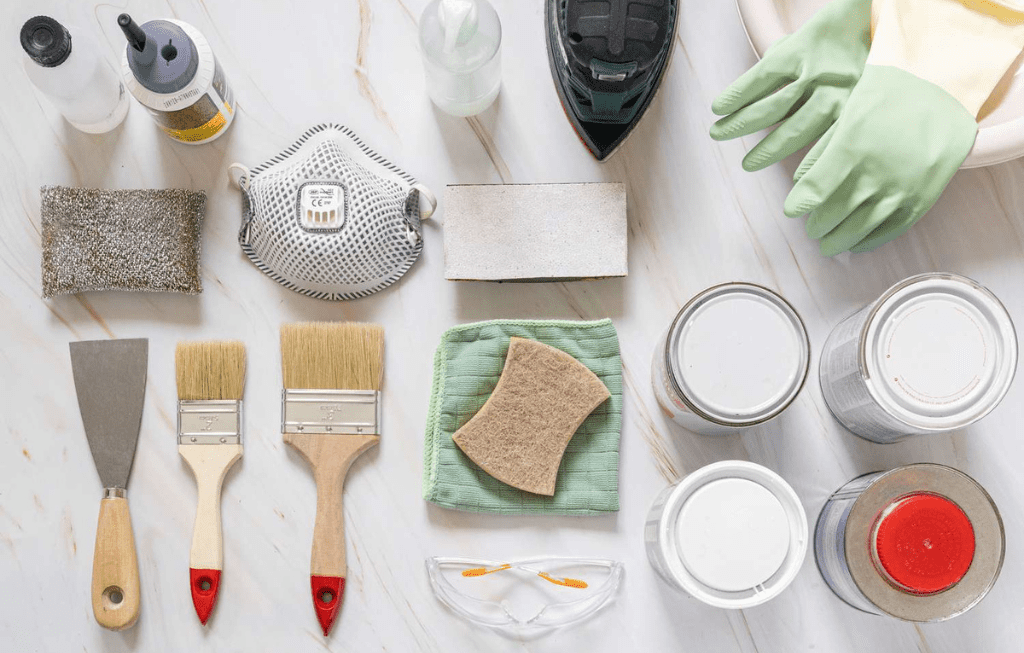
Once you have determined that your desk is suitable for refurbishing, the next step is to gather the necessary materials and tools. Here’s a list of essentials:
Tools
- Screwdrivers: For disassembling any hardware or drawers.
- Sandpaper and Sanding Blocks: Various grits for different stages of sanding.
- Sander: For efficient removal of old finishes and smoothing the wood.
- Paintbrushes and Rollers: For applying paint or stain.
- Paint Stripper: If you’re dealing with a painted desk that needs refinishing.
- Wood Filler: To repair any cracks or holes.
- Safety Gear: Gloves, goggles, and masks are essential for protection.
Materials
- Primer: If painting, to ensure a smooth, even coat.
- Paint or Stain: Depending on your desired finish.
- Polyurethane: To protect the desk’s surface after painting or staining.
- Cleaners: For initial cleaning and preparation of the surface.
3. Set up an Ideal Refurbishing Area
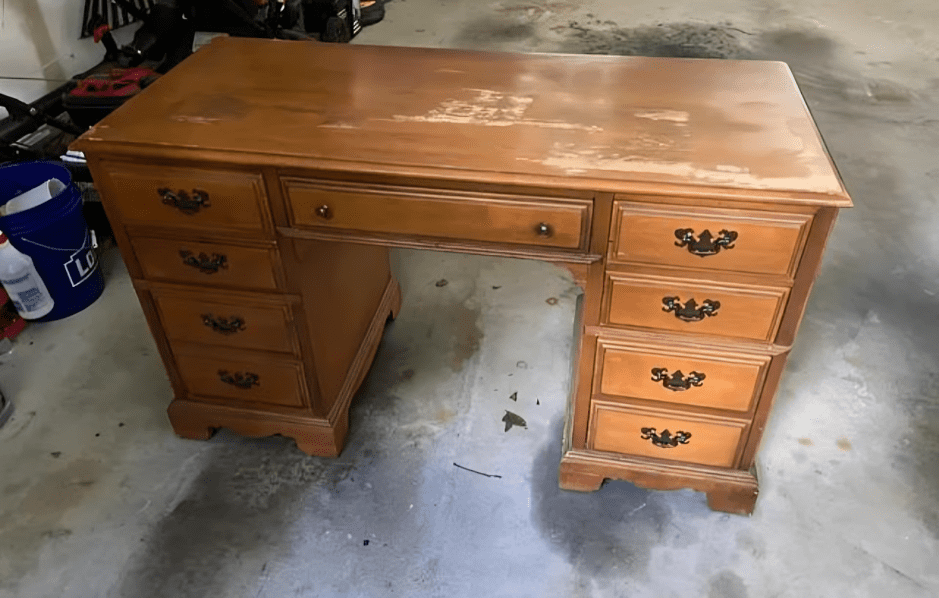
Choosing the right location to refurbish your desk is as important as having the right tools. A well-ventilated area is crucial, especially when working with products like paint and primer that release fumes.
An outdoor space, like a garage with doors and windows open, is ideal. If you’re working indoors, ensure the room is well-ventilated with fans and open windows.
Cover the floor and any nearby furniture with drop cloths or old newspapers to protect them from paint splatters and sawdust. Good lighting is also important; it helps you see the details of your work and ensures a quality finish.
Safety should be your top priority. Wear protective gear like gloves, safety goggles, and a mask, especially when sanding or painting. Keep your workspace organized and free of clutter to avoid accidents. Remember to keep all materials and tools away from children and pets.
4. Disassemble and Clean
Disassembling and cleaning your desk is a vital first step in refurbishing. Begin by carefully removing any hardware, such as drawer handles or decorative elements.
This usually involves unscrewing or gently prying them off with a screwdriver. Take care not to damage the desk or hardware during this process. Label and store the hardware safely for reassembly later.
Cleaning the desk is equally important. Dust and dirt can interfere with sanding and painting. Wipe down the entire desk with a damp cloth to remove surface dust and grime. Be thorough but gentle to avoid water damage, especially on wood surfaces. Let the desk dry completely before proceeding to the next step.
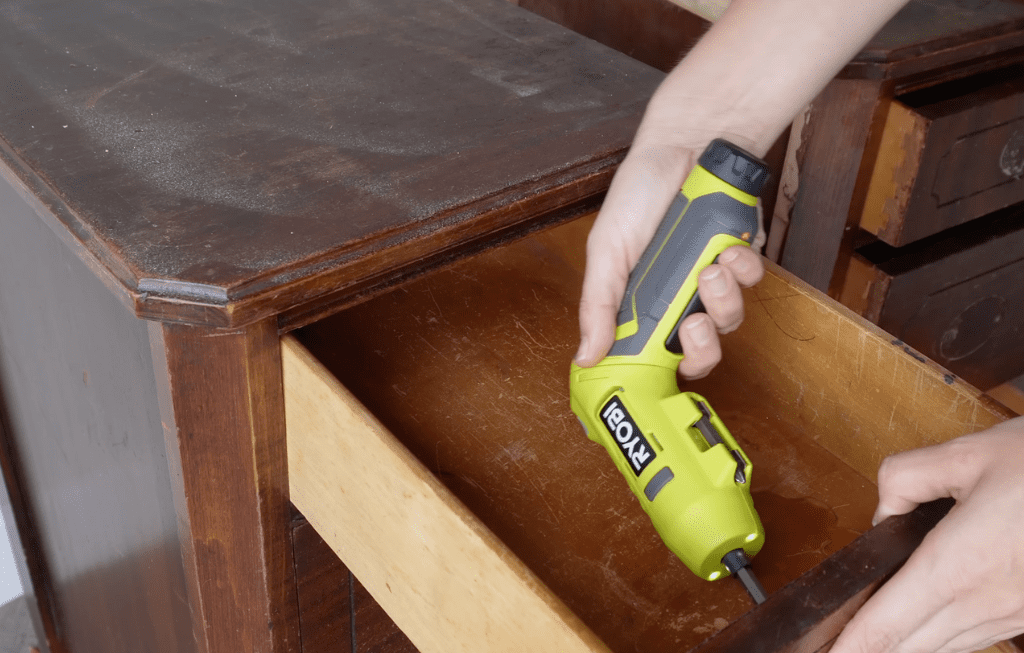
5. Sand the Desk and Smooth Out Surfaces

Sanding prepares the desk for refinishing by smoothing out the surface and removing old finishes or stains. It’s a crucial step for ensuring an even application of new paint or stain.
You can use an orbital sander like this one for larger, flat surfaces and a sanding block or hand-held sander like this one for corners and detailed areas. Start with a coarse grit sandpaper, like 80 grit, to strip away the old finish, then progressively use finer grits, such as 120, 180, and 220, to smooth the surface.
Sanding can be time-consuming and produces a lot of dust, so it’s important to work in a well-ventilated area and wear a dust mask for safety. Always sand in the direction of the wood grain to avoid scratches. Ensure that the surface is smooth before moving on to the next step.
6. Deal with Tough Spots
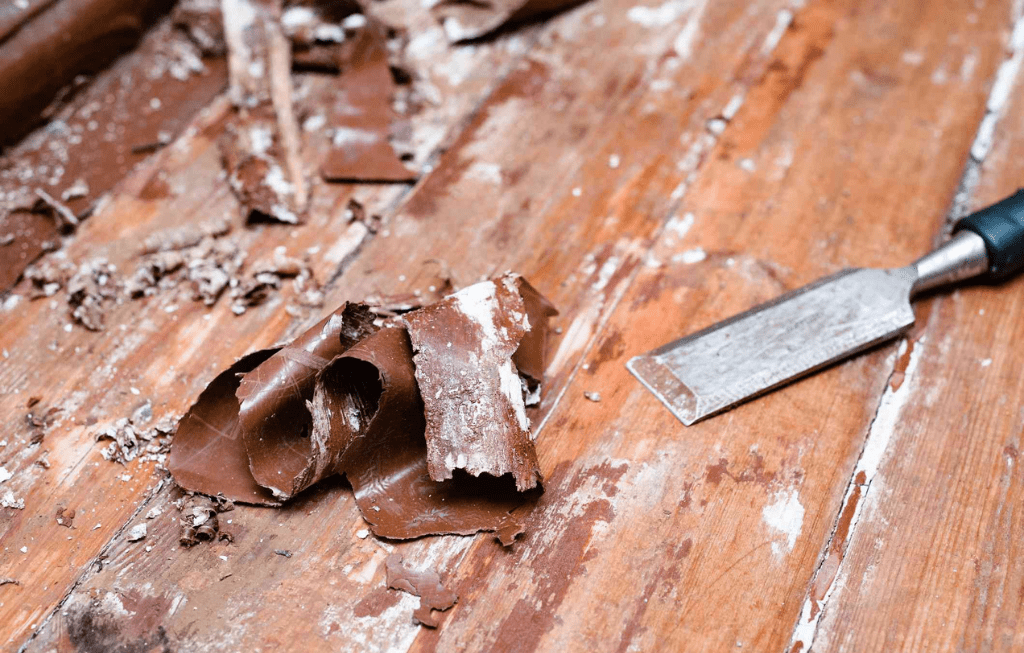
Sanding alone might not be enough in some cases, especially with stubborn stains or varnishes. This is where a paint stripper can be useful. Apply a generous coat of paint stripper to the affected areas using a brush.
Allow the stripper to work for the recommended time, usually between 10 and 15 minutes, but this can vary based on the product. After waiting for the right amount of time, gently use a putty knife or scraper to take off the paint or varnish that has softened.
Put the scraped-off bits into an old can or plastic container to throw away safely. If there’s still some left on the surface, do the stripping again. Keep in mind, using paint removers works best on big, flat areas. For small details or corners, sanding usually works better.
7. Stain or Paint the Desk

Deciding whether to stain or paint your desk is crucial in determining its final appearance and feel.
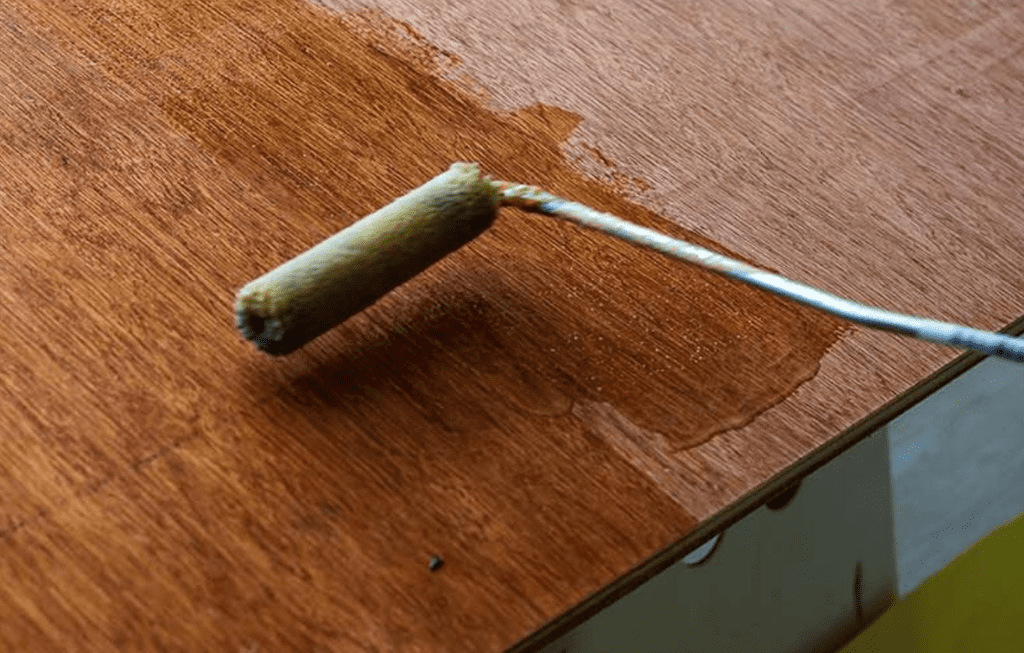
Staining enhances the natural beauty of the wood, allowing its grain to show through. It’s ideal for desks with a good wood grain you want to showcase.
To stain a desk, stir the can to ensure even color distribution. Apply the stain with a brush in long, consistent strokes toward the wood grain. Wipe off any excess stain with a clean cloth and let it dry for at least 24 hours. Multiple coats may be required depending on the desired color depth.
On the other hand, painting offers a wider range of colors and finishes, allowing for more creativity. It’s suitable for desks where you want a solid color or when the wood grain is not as aesthetically pleasing. Use acrylic latex paint for a durable finish.
Start with a small amount of paint and apply it in long, even strokes, using a roller for larger surfaces. This approach helps achieve a smooth, even coat.
8. Apply the Finish to Protect Your Desk
After staining or painting, protecting your desk with a finish like polyurethane is vital. This clear coat shields the desk from scratches, wear, and tear and adds durability.
Polyurethane is available in various application methods: brush-on, wipe-on, and spray.
Brush-on polyurethane is ideal for large, flat surfaces but requires careful application to avoid drips and runs. Wipe-on poly is thinner and suitable for contoured or intricate areas. Spray polyurethane is great for hard-to-reach spots and provides an even coat.
Apply polyurethane in long strokes in the same direction as the wood grain. Allow the desk to dry for at least 24 hours. If the finish feels bumpy, lightly sand it with fine sandpaper (220 grit or higher) for a smooth finish.
9. Put Everything Back Together and Add Hardware
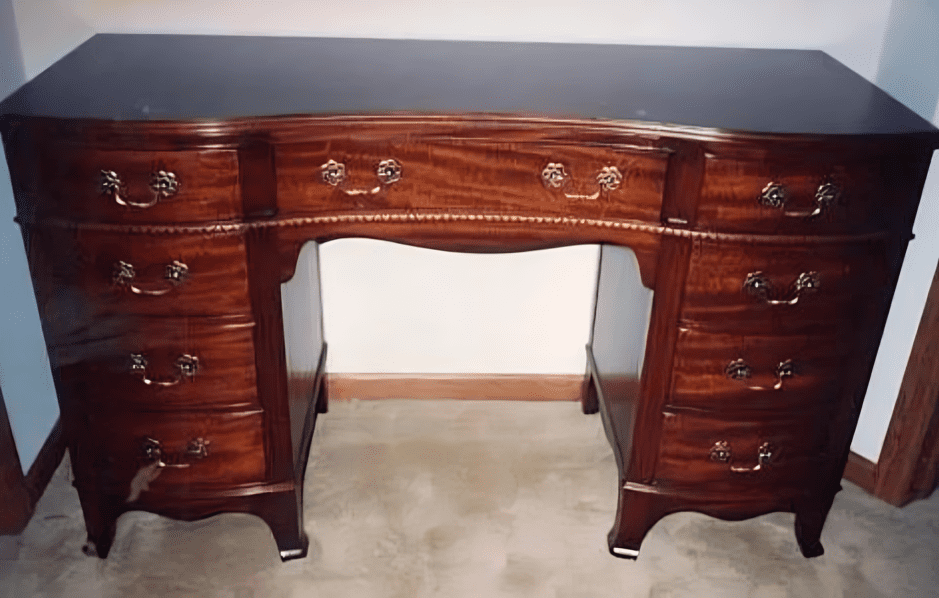
Reassembling your desk is the final step in the refurbishment process. Carefully reattach any drawers, shelves, or other components you removed. Ensure everything fits correctly and functions smoothly.
Choosing the right hardware is crucial as it can significantly affect the desk’s overall appearance and functionality. When selecting hardware, consider both aesthetics and practicality.
The style and finish of the hardware should complement the desk’s color and design. For instance, smooth, modern knobs look good on modern desks, and old-style desks look better with more detailed knobs and handles.
It’s also important to match the hardware finish with other elements in the room for a cohesive look. Practical considerations include the ease of use and comfort of the hardware.
Test the feel of knobs or pulls to ensure they are comfortable to use and fit the scale of the desk. Larger hardware may be needed for heavier drawers or doors.
Before You Go…
Refurbishing a desk can breathe new life into an old piece, making it a rewarding project. But, if you’ve discovered that your desk is beyond refurbishment, don’t worry. There’s still a perfect solution for you.
For those in need of a new desk, I’ve got you covered with my previous article. This guide will show you how to pick and personalize a desk that fits your space and style, all from the comfort of your home.
How To Customize Your Desk Online: Easy and Affordable Guide